Top 10 Fish Cleaning Tips for Every Angler
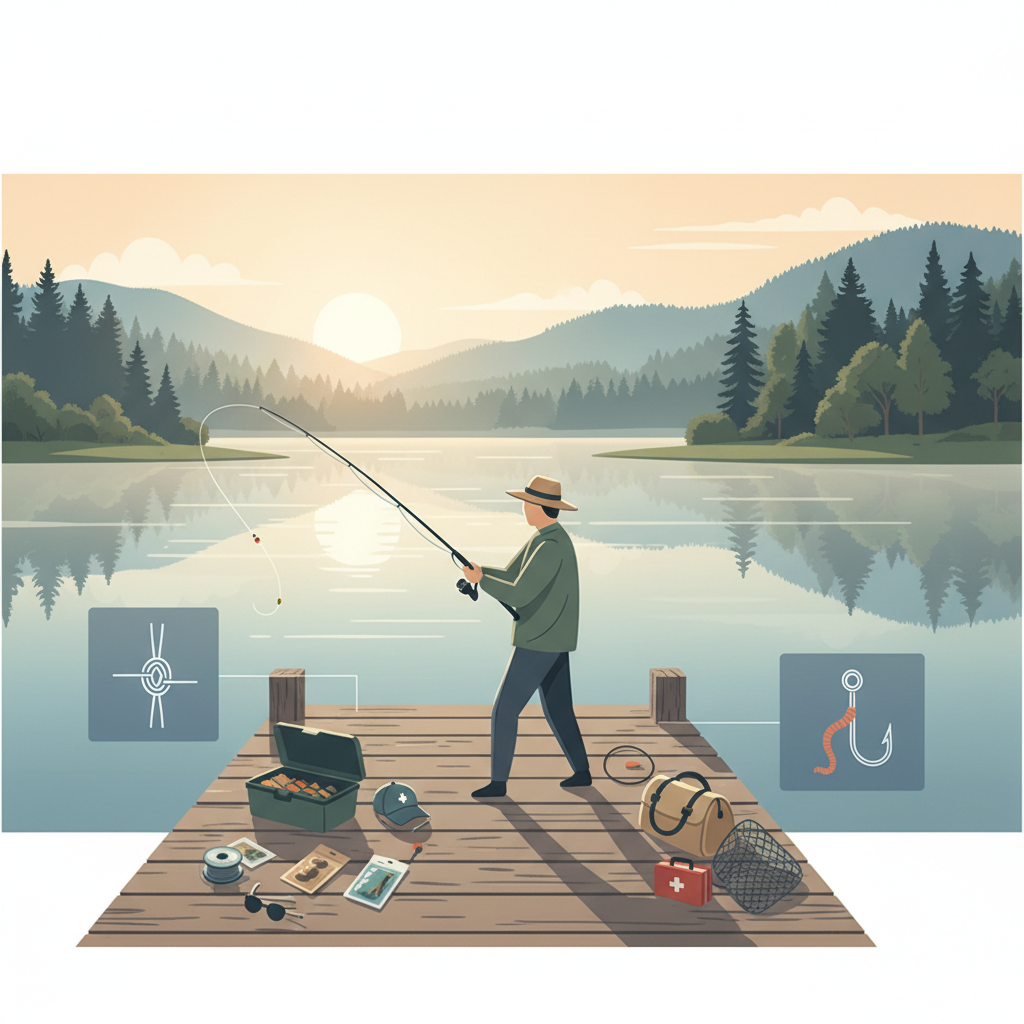
For many anglers, the thrill of the catch is only half the adventure. The other, equally important half, is the preparation of that catch for the table. Proper fish cleaning isn’t just about aesthetics; it’s crucial for food safety, flavor, and ensuring a sustainable approach to fishing. This comprehensive guide delves into the essential techniques and considerations for cleaning your freshly caught fish, transforming it from a wild specimen into a culinary delight. We’ll explore historical methods, modern best practices, and address common questions, all designed to enhance your fishing skills and enjoyment.
Historically, fish cleaning has been an integral part of human sustenance, dating back to ancient civilizations. Early methods were often crude, utilizing sharpened stones or shells. As metallurgy advanced, specialized knives emerged, making the process more efficient. Today, while the basic principles remain, advancements in materials science have given us sharper, more durable tools, and a greater understanding of hygiene and preservation. The goal remains the same: to efficiently and safely prepare fish for consumption, honoring the resource and maximizing its potential.
1. Master the Basic Filleting Technique
Filleting is perhaps the most common and versatile method for cleaning fish, especially popular for species like bass, perch, and trout. It involves removing the meat from the bone structure, resulting in boneless portions ready for cooking. The core concept is to follow the natural contours of the fish’s anatomy.
Step-by-step guidance:
- Preparation: Lay the fish on a clean, stable surface. Ensure your knife is razor-sharp. A dull knife is dangerous and makes the job harder.
- First Cut (Behind the Gills): Make a cut behind the pectoral fin, angling down towards the backbone but not through it. Stop when you feel the spine.
- Second Cut (Along the Top): Starting from the initial cut, run your knife along the top of the backbone, from head to tail. Keep the blade flat against the spine to maximize meat yield.
- Separate the Fillet: Once you reach the tail, carefully separate the fillet from the rib cage. You can either cut through the ribs or, for larger fish, carefully slice the meat away from them.
- Skinning (Optional but Recommended): Lay the fillet skin-side down. Hold the tail end firmly and, using a long, sweeping motion, slide your knife between the skin and the meat, keeping the blade angled slightly towards the skin. This ensures you leave minimal meat on the skin.
- Repeat: Flip the fish over and repeat the process for the other side.
Practice is key here. Your first few attempts might not be perfect, but with patience, you’ll develop the muscle memory and precision needed for clean, efficient fillets.
2. Understand Gutting and Gilling for Whole Fish Preparation
Sometimes, you might want to cook fish whole, especially for grilling, baking, or smoking. In such cases, gutting and gilling are essential. This method is particularly suitable for smaller fish or those where the presentation of the whole fish is desired.
Step-by-step guidance:
- Gutting: Make a shallow cut along the belly of the fish, from the vent (anus) up to the jaw, being careful not to puncture the intestines. Open the cavity and scoop out all the organs. Ensure no black membrane (peritoneum) is left, as it can impart a bitter taste. Scrape it away with your thumb or a spoon.
- Gilling: Lift the gill plate and locate the gills. Using your thumb and forefinger, grasp the gills firmly and twist them out, or cut them away with scissors or a knife. Gills can harbor bacteria and contribute to a fishy odor.
- Rinsing: Thoroughly rinse the inside of the fish cavity and the exterior under cold running water until completely clean. Pat dry with paper towels before cooking or storing.
This method preserves the fish’s natural juices and can be a beautiful presentation for certain culinary applications.
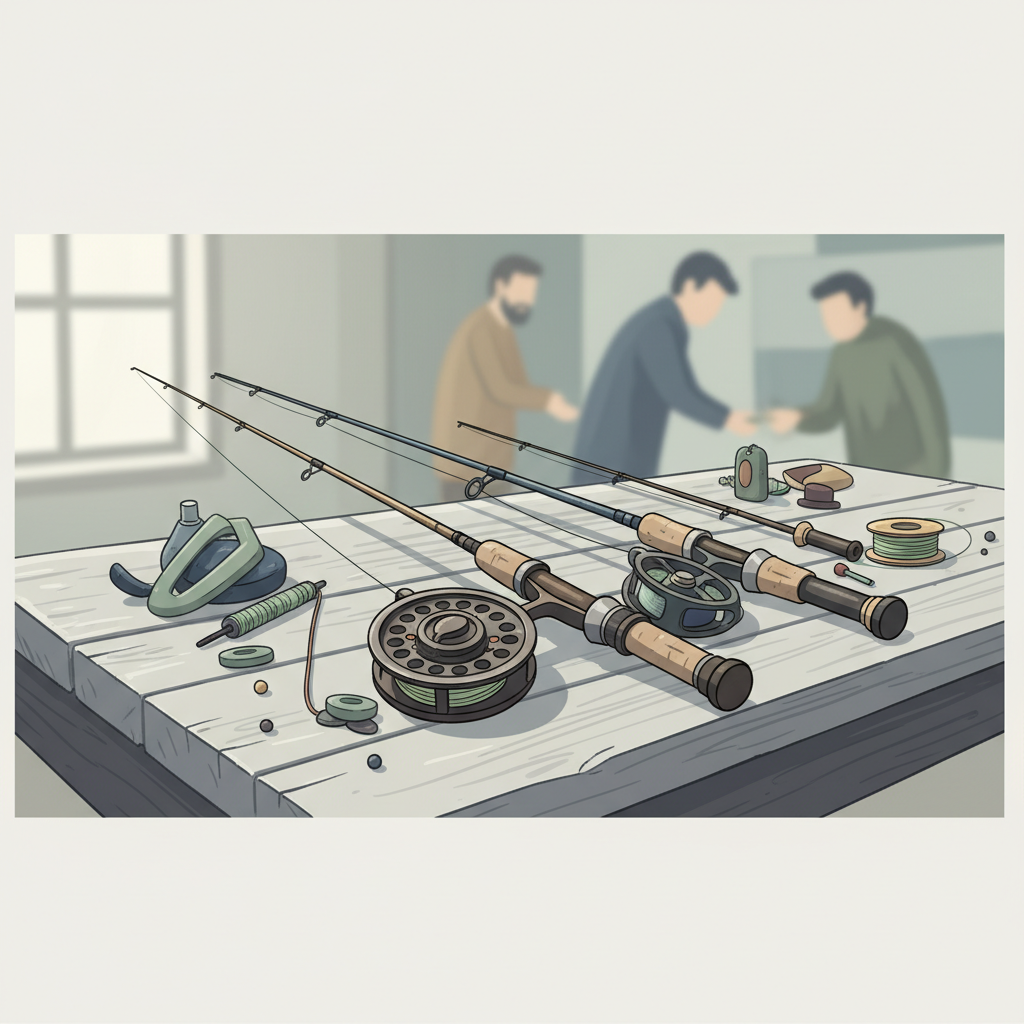
3. Equip Yourself with the Right Tools
The quality of your cleaning tools significantly impacts the ease and efficiency of the process. Investing in good equipment is a wise decision for any angler.
- Fillet Knife: The most crucial tool. Look for a sharp, flexible blade, typically 6-9 inches long, made from high-carbon stainless steel for durability and corrosion resistance. Brands known for excellent edge retention are often preferred by experienced anglers.
- Sharpening Stone or Steel: A sharp knife is a safe knife. Regular sharpening is essential.
- Cutting Board: A sturdy, non-slip cutting board is vital. Plastic or composite boards are easier to clean and sanitize than wood. Dedicated fish cleaning stations with integrated scales and rulers are also popular.
- Fish Scaler: While not always necessary (especially if skinning), a scaler can quickly remove scales without damaging the flesh. Alternatively, the back of a knife can be used.
- Gloves: Latex or nitrile gloves can improve grip, protect your hands from spines, and maintain hygiene.
- Bucket or Cooler with Ice: Essential for keeping fish fresh before and after cleaning.
- Paper Towels and Cleaning Supplies: For quick cleanup and maintaining a sanitary workspace.
Regular maintenance of your tools, including cleaning and sharpening, will ensure they serve you well for many seasons.
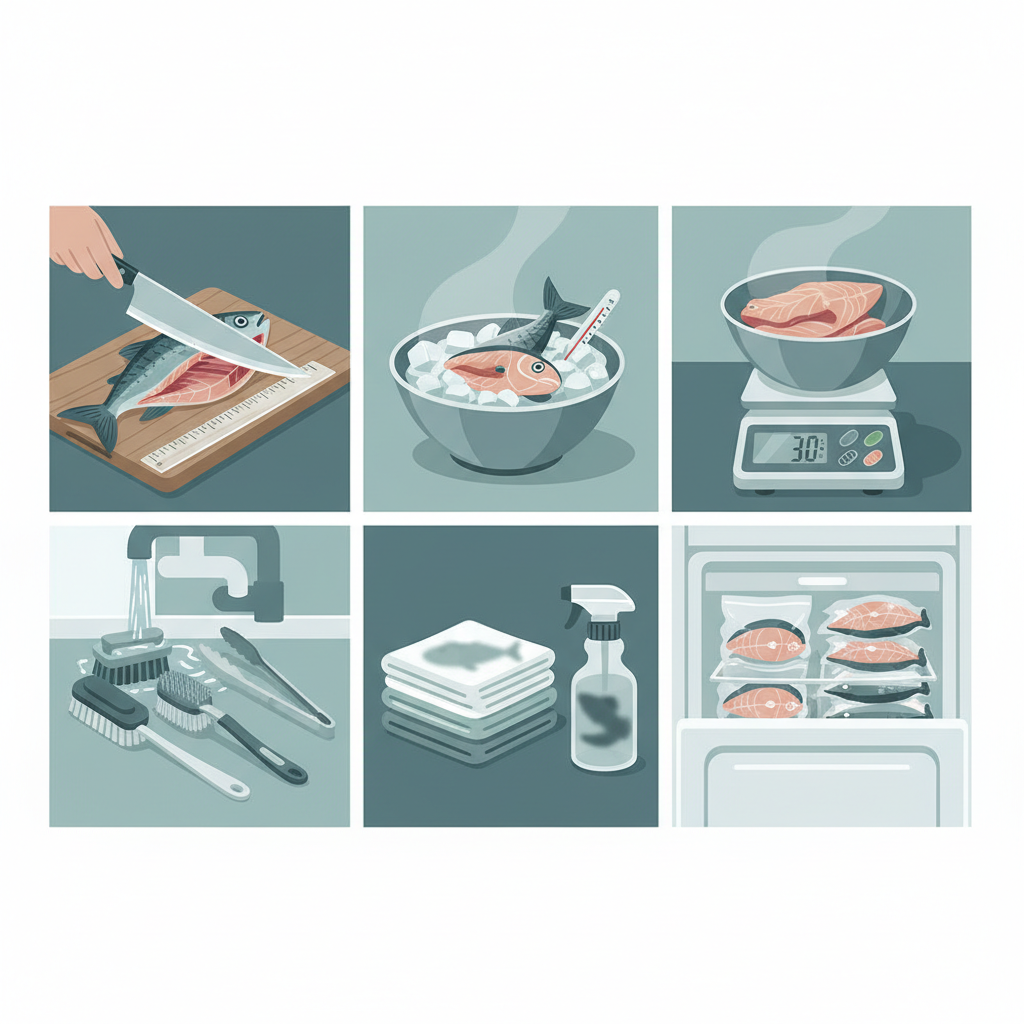
4. Prioritize Freshness and Immediate Cooling
The quality of your cleaned fish starts the moment it leaves the water. Rapid cooling is paramount to preserving flavor and preventing spoilage.
- Bleeding: For many species, especially larger ones, bleeding the fish immediately after capture can significantly improve the flavor and flesh quality. This involves making a cut behind the gills to sever the main artery, allowing the blood to drain.
- Icing: Place the fish on ice as soon as possible. A cooler filled with an ice-slurry (ice and a small amount of water) is ideal as it provides maximum contact with the cold. Avoid leaving fish in warm water or direct sunlight.
- Cleaning Promptly: While immediate icing is crucial, cleaning the fish as soon as practical after catching is also beneficial. The longer fish sits uncleaned, even on ice, the more its quality can degrade.
These steps are foundational to food safety and culinary excellence, directly impacting the final taste and texture of your meal.
5. Practice Proper Scaling Techniques
If you plan to cook fish with the skin on, scaling is a necessary step. Scales can be tough and unpleasant to eat.
Method:
- Preparation: Hold the fish firmly by the tail. You might want to do this outdoors or in a sink, as scales can fly.
- Scaling: Using a fish scaler or the back of a knife, scrape against the direction of the scales, from tail to head. Apply firm, even pressure.
- Check for Missed Spots: Pay attention to areas around the fins and head, where scales can be stubborn.
- Rinsing: Rinse the fish thoroughly under cold water to remove any remaining scales.
Some fish, like certain types of catfish or shark, have no scales or very small, embedded scales, making this step unnecessary. Others, like salmon or trout, have delicate scales that can be left on if desired, or easily removed.
6. Master the Art of Deboning for Specific Fish
While filleting generally removes most bones, some species, particularly those with Y-bones (like pike or some suckers), require additional deboning techniques to create truly boneless fillets.
For Y-bones:
- Locate the Bones: After filleting and skinning, run your fingers along the fillet to feel for the Y-bones, which are typically found in the dorsal muscle, running from the head end towards the tail.
- V-Cut Method: Make a shallow V-shaped cut along both sides of the bone line, then lift out the strip of flesh containing the bones. This creates two boneless fillet strips from one larger fillet.
- Pliers Method: For smaller, more manageable Y-bones, some anglers use needle-nose pliers (dedicated for food use) to gently pull out individual bones. This requires patience and a delicate touch.
Deboning transforms potentially challenging fish into highly palatable meals, making them more appealing to a wider audience.
7. Maintain a Clean and Sanitary Workspace
Hygiene is paramount when handling food, and fish is no exception. A clean workspace prevents cross-contamination and ensures the safety of your catch.
- Before You Start: Clean and sanitize your cutting board, knives, and all surfaces that will come into contact with the fish.
- During Cleaning: Regularly rinse your hands and tools. Keep a bucket of water nearby to rinse off scales and blood.
- After Cleaning: Immediately clean and sanitize all equipment and surfaces. Use a bleach solution (1 tablespoon of bleach per gallon of water) for sanitizing. Store tools properly once dry.
- Waste Disposal: Dispose of fish carcasses and offal responsibly. This means bagging them tightly and placing them in a secure trash can, or following local regulations for composting/disposal. Never leave fish waste exposed, as it can attract pests.
A clean environment is a safe environment, safeguarding your health and the quality of your food.
8. Learn Different Cuts for Various Cooking Methods
Beyond basic filleting, understanding different cuts can optimize your fish for specific cooking applications.
- Steaks: For larger, rounder fish (e.g., tuna, swordfish, large salmon), steaks are cut crosswise through the bone. This method is excellent for grilling or pan-searing.
- Loins: Some fish, like cod or halibut, have thick, meaty sections known as loins, which can be cut from the larger fillet. These are often preferred for baking or poaching.
- Portions: Fillets can be further cut into individual serving portions, ensuring even cooking and presentation. Consider the thickness and size needed for your recipe.
- Butterfly Cut: For smaller fish, a butterfly cut involves splitting the fish down the back, removing the backbone, and leaving the two fillets attached at the belly. This is popular for grilling or frying.
Matching the cut to the cooking method enhances both the visual appeal and the culinary outcome of your fish.
9. Proper Storage for Freshness and Longevity
Once cleaned, proper storage is crucial to maintain freshness and extend shelf life, whether for immediate consumption or later use.
- Refrigeration: For immediate use (within 1-2 days), store cleaned fish in an airtight container or wrapped tightly in plastic wrap, placed on a bed of ice in the coldest part of your refrigerator. Change the ice daily.
- Freezing: For longer storage, freezing is the best option.
- Vacuum Sealing: This is the gold standard. Vacuum-sealed fish can last 6-12 months in the freezer without significant quality degradation.
- Water Glaze: If you don’t have a vacuum sealer, place fillets in a freezer-safe bag, cover with cold water, and freeze. This creates an ice barrier that prevents freezer burn.
- Freezer Paper: Wrap fillets tightly in plastic wrap, then in freezer paper, ensuring no air pockets.
- Labeling: Always label frozen fish with the date and species.
Understanding and implementing these storage methods prevents waste and ensures you can enjoy your catch months down the line.
10. Practice, Patience, and Respect for the Catch
Ultimately, proficiency in fish cleaning comes with practice. Don’t be discouraged if your first attempts aren’t perfect. Each fish presents a unique challenge, and with time, you’ll develop the skill and confidence to clean any species efficiently.
- Start Simple: Begin with easier-to-clean fish like panfish (perch, bluegill) or smaller bass before tackling more complex species.
- Watch and Learn: Utilize online tutorials and videos to observe experienced anglers. The visual aspect can be incredibly helpful.
- Be Patient: Rushing can lead to accidents or wasted meat. Take your time, especially when learning.
- Respect the Resource: Cleaning your fish properly is a way of showing respect for the fish and the environment. It ensures that none of the catch goes to waste and that you’re maximizing the food potential of what you’ve harvested.
Embracing these principles not only enhances your culinary experience but also deepens your connection to the entire fishing process, from catch to plate.
FAQ
Q5: How long can cleaned fish be stored in the refrigerator before cooking?
A5: Cleaned, fresh fish can typically be stored in the refrigerator for 1 to 2 days. To maximize freshness, store it in the coldest part of your refrigerator, preferably on a bed of ice in an airtight container, and drain any melted ice water daily. For longer storage, freezing is recommended.
Q4: What’s the best way to dispose of fish guts and carcasses?
A4: The best way to dispose of fish guts and carcasses depends on local regulations and your environment. Generally, they should be bagged tightly and placed in a secure trash receptacle to prevent attracting pests. In some remote areas, deep burial away from water sources might be acceptable, but never discard them openly near residential areas or waterways. Composting options for small amounts of fish waste are also becoming more prevalent in certain regions by 2026.
Q3: Is it necessary to scale fish if I’m going to skin it?
A3: No, if you plan to skin the fish, scaling is not necessary. The skin, along with the scales, will be removed during the skinning process. Scaling is only required if you intend to cook and eat the fish with its skin on.
Q2: How quickly should I clean a fish after catching it?
A2: Ideally, fish should be cleaned as soon as possible after catching. If immediate cleaning isn’t feasible, it’s crucial to bleed the fish (if appropriate for the species) and place it on ice immediately in a cooler. The colder the fish is kept, the longer its quality will be maintained before cleaning, but promptness is always best for optimal flavor and texture.
Q1: What is the best type of knife for cleaning fish?
A1: The best type of knife for cleaning fish is a dedicated fillet knife. It typically features a thin, flexible blade (6-9 inches long for most freshwater fish) made from high-carbon stainless steel. The flexibility allows it to follow the contours of the fish’s bones, maximizing meat yield. A sharp edge is critical for safety and efficiency.